Preparing Your Home for a Professional Paint Job: A Step-by-Step Guide
Introduction to Preparing Your Home for a Paint Job
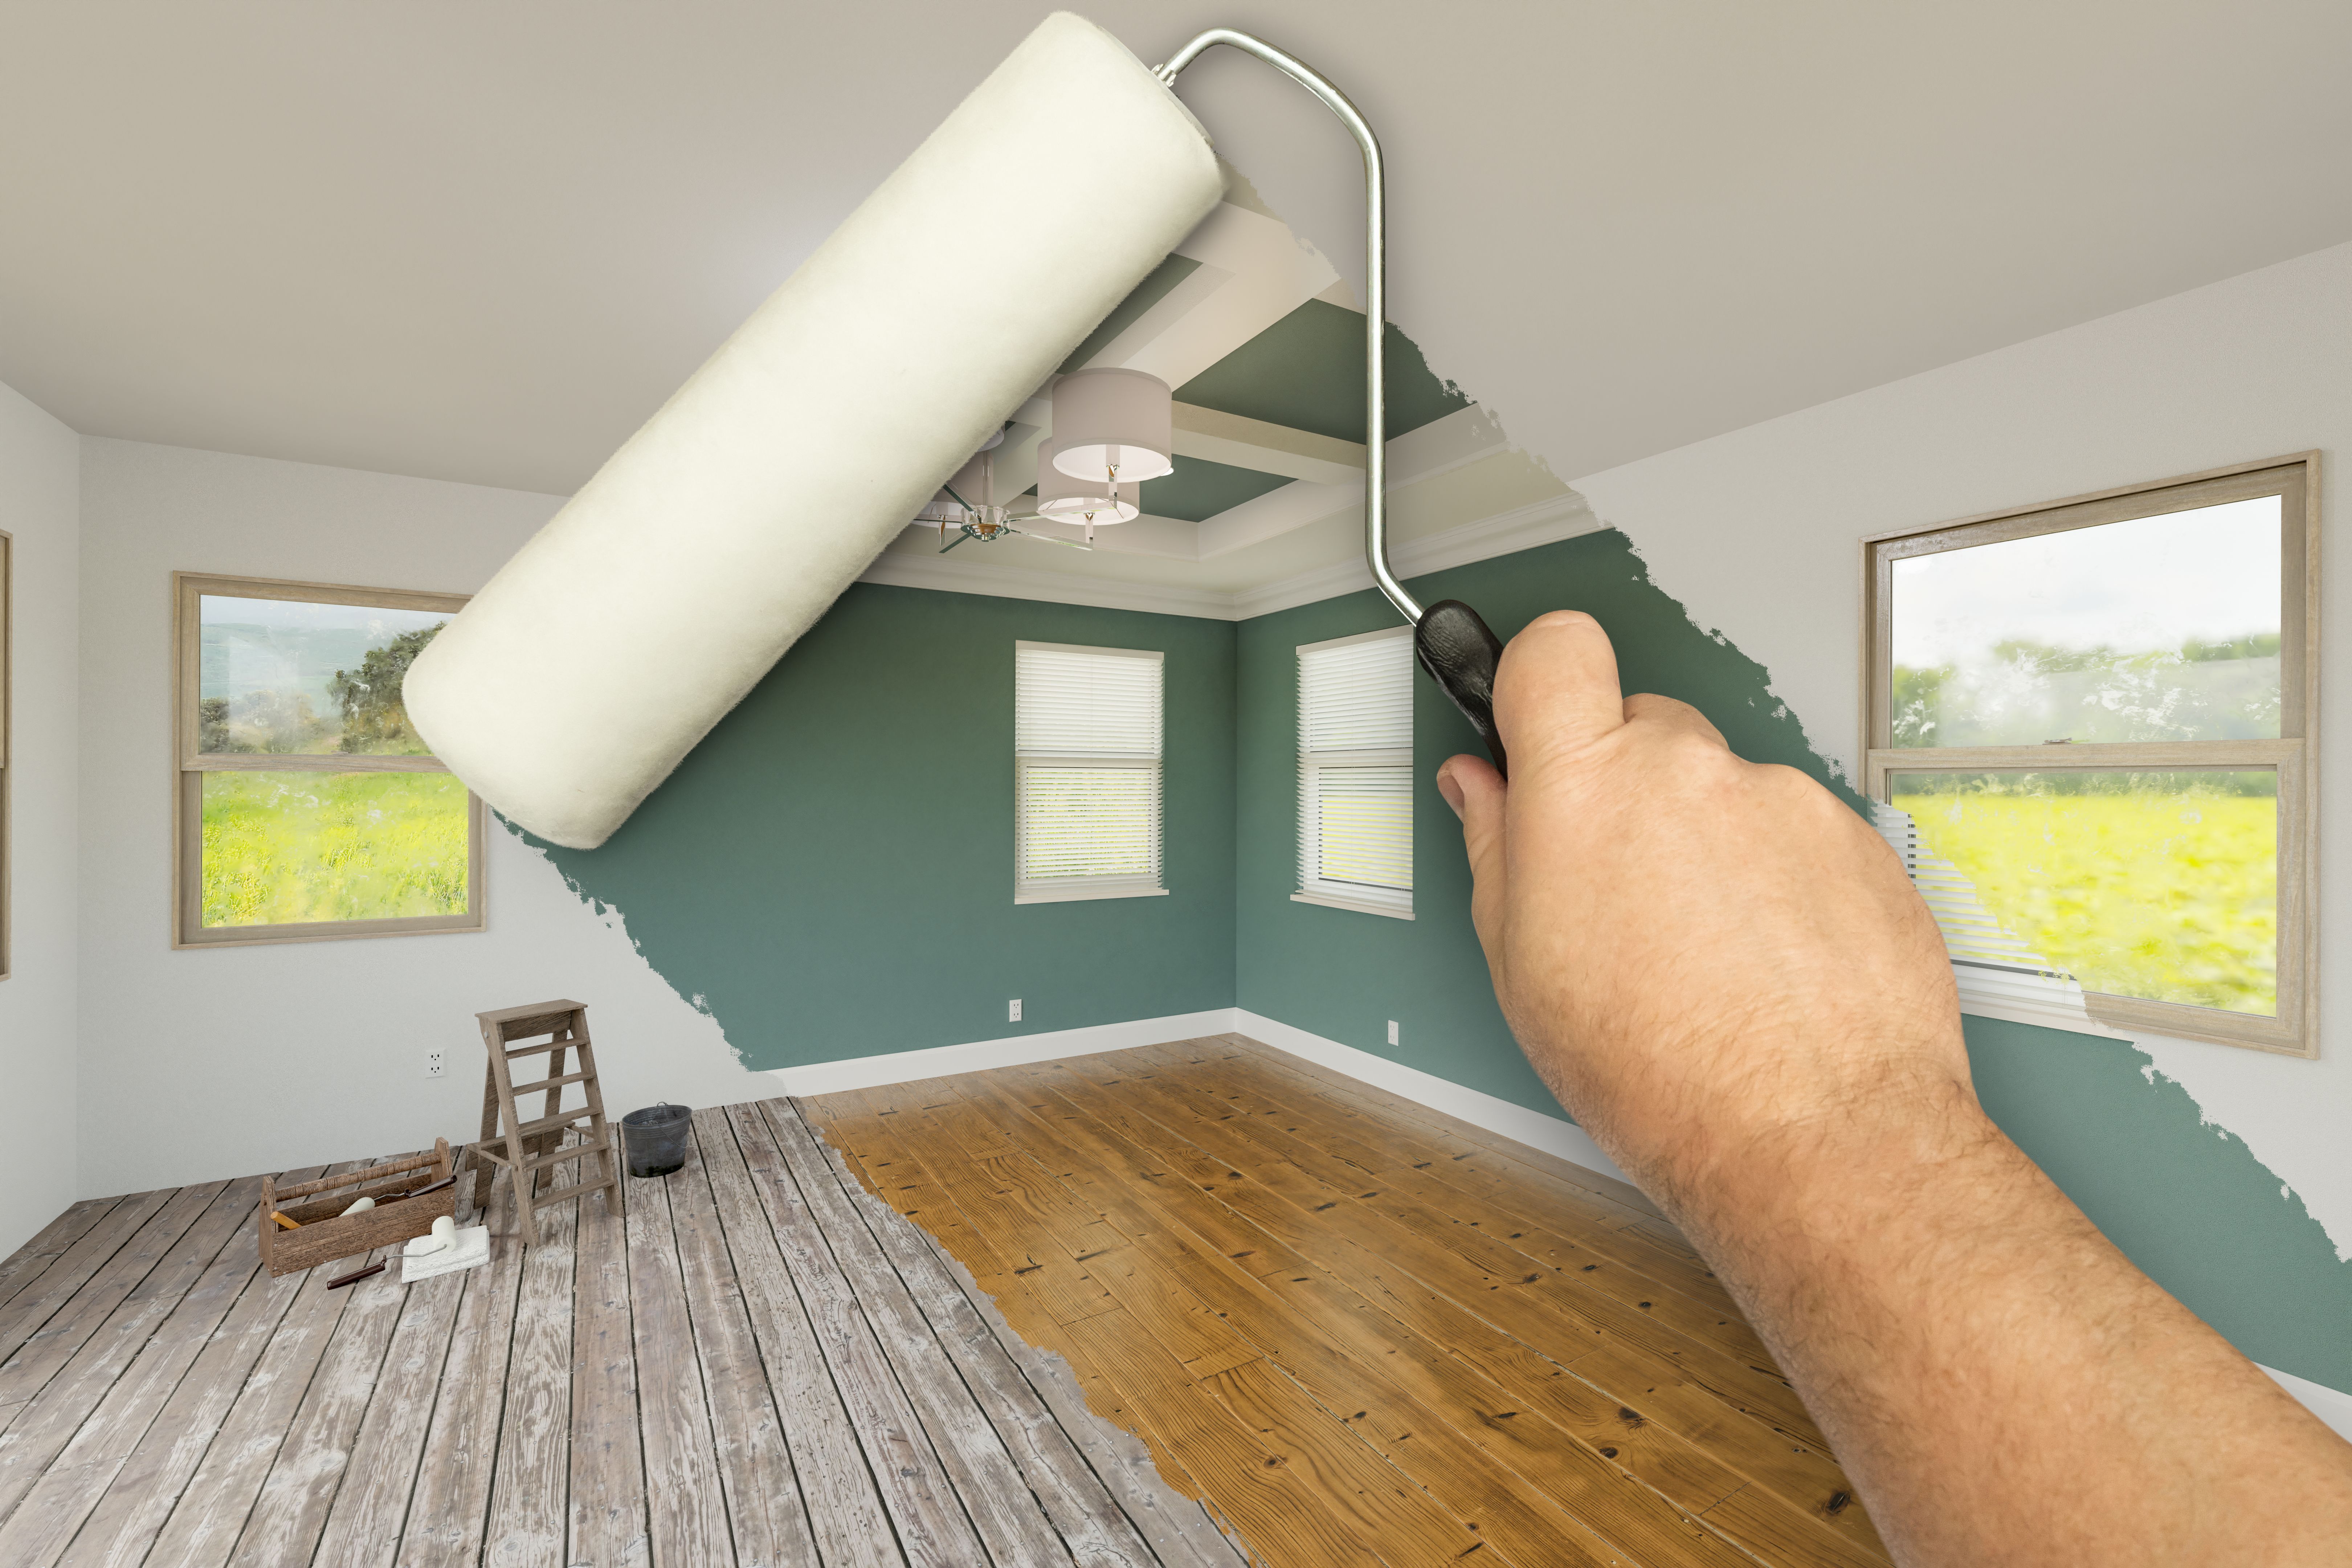
Getting ready for a professional paint job involves more than just choosing the right color. Proper preparation ensures a smoother, more efficient process, and a longer-lasting finish. Whether you're refreshing a single room or the entire house, following these steps will help you and your painting crew achieve the best results possible.
Step 1: Clear the Area
The first task is to clear the area where the painting will take place. Remove as much furniture as possible to prevent any damage from paint splatters. For larger pieces that are difficult to move, push them to the center of the room and cover with drop cloths. Don't forget to take down wall decor, including paintings, mirrors, and clocks.
Prepare the Floors
Protect your floors by covering them with drop cloths or plastic sheeting. Secure these coverings with painter's tape to ensure they stay in place throughout the project. This step is crucial for preventing paint drips from staining carpets or hardwood floors.
Step 2: Clean and Repair Surfaces
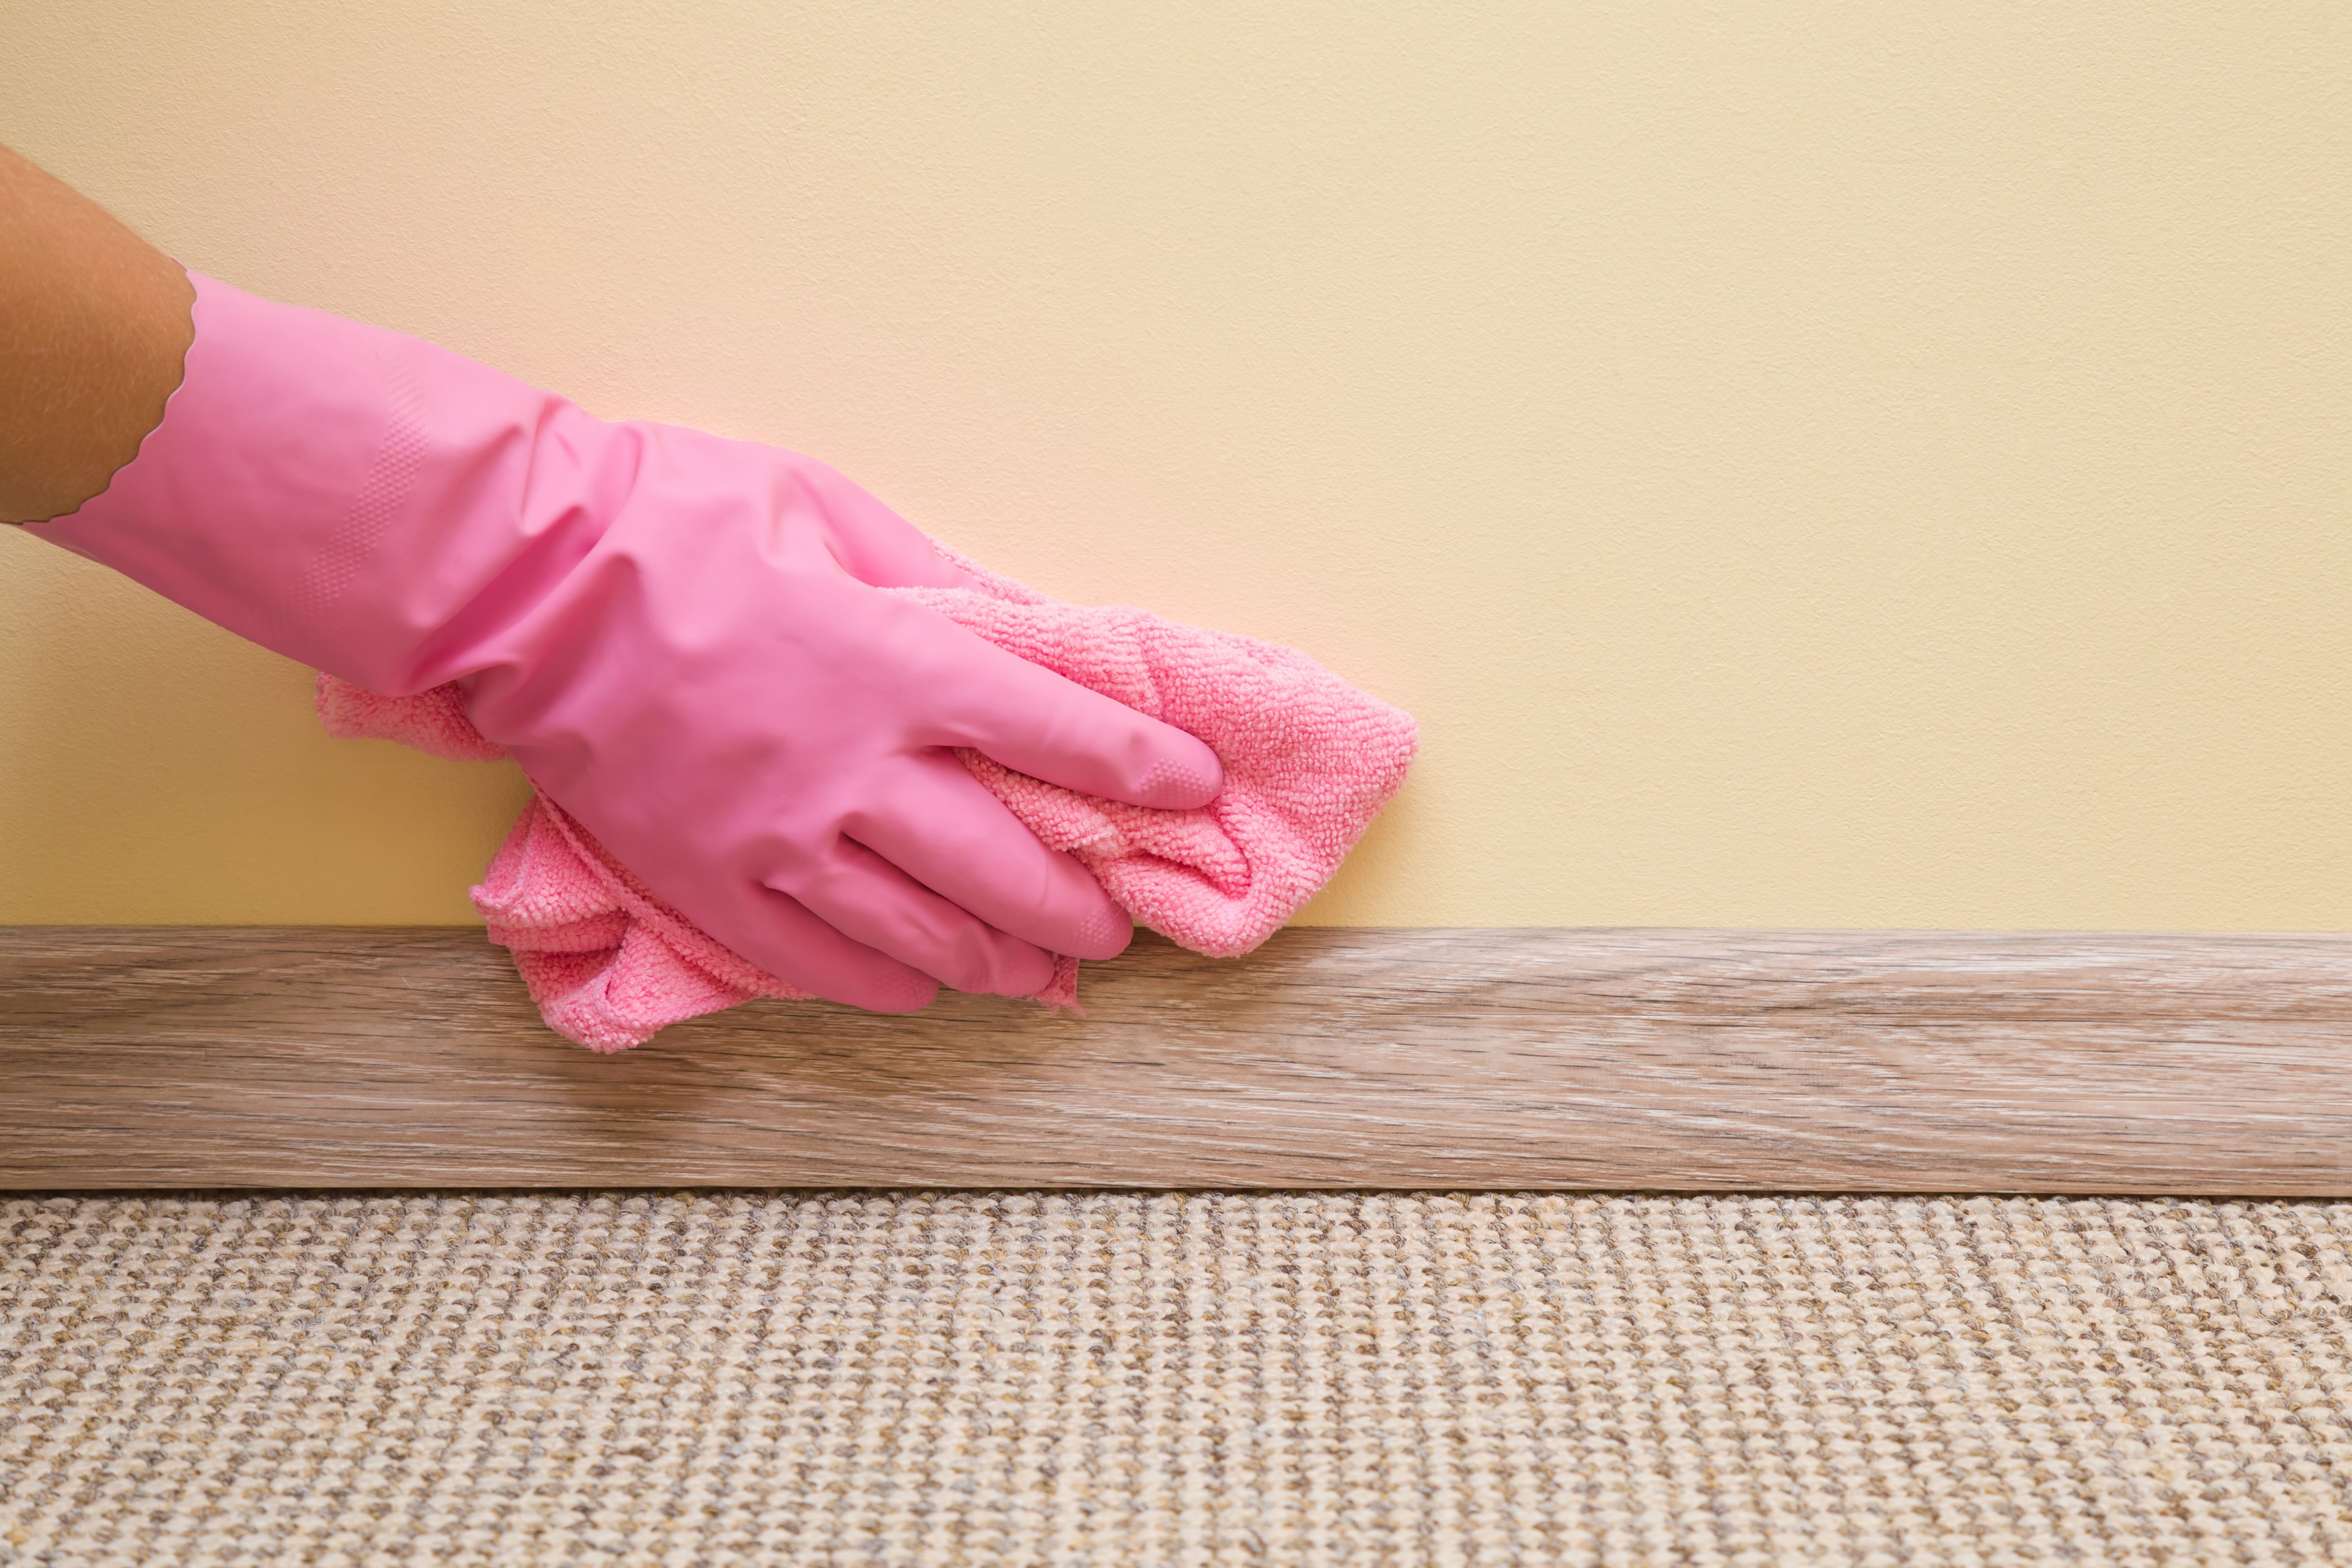
Before any paint touches your walls, it's important to clean and repair them. Dust and dirt can prevent paint from adhering properly, so wipe down surfaces with a damp cloth or mild detergent. Pay special attention to the corners and baseboards where dust tends to accumulate.
Fix Imperfections
Inspect your walls for any cracks, holes, or dents. Use spackling paste or a suitable filler to repair these imperfections. Once filled, sand the areas smooth to ensure a seamless finish. This not only improves aesthetics but also helps in achieving a more even coat of paint.
Step 3: Protect Fixtures and Outlets
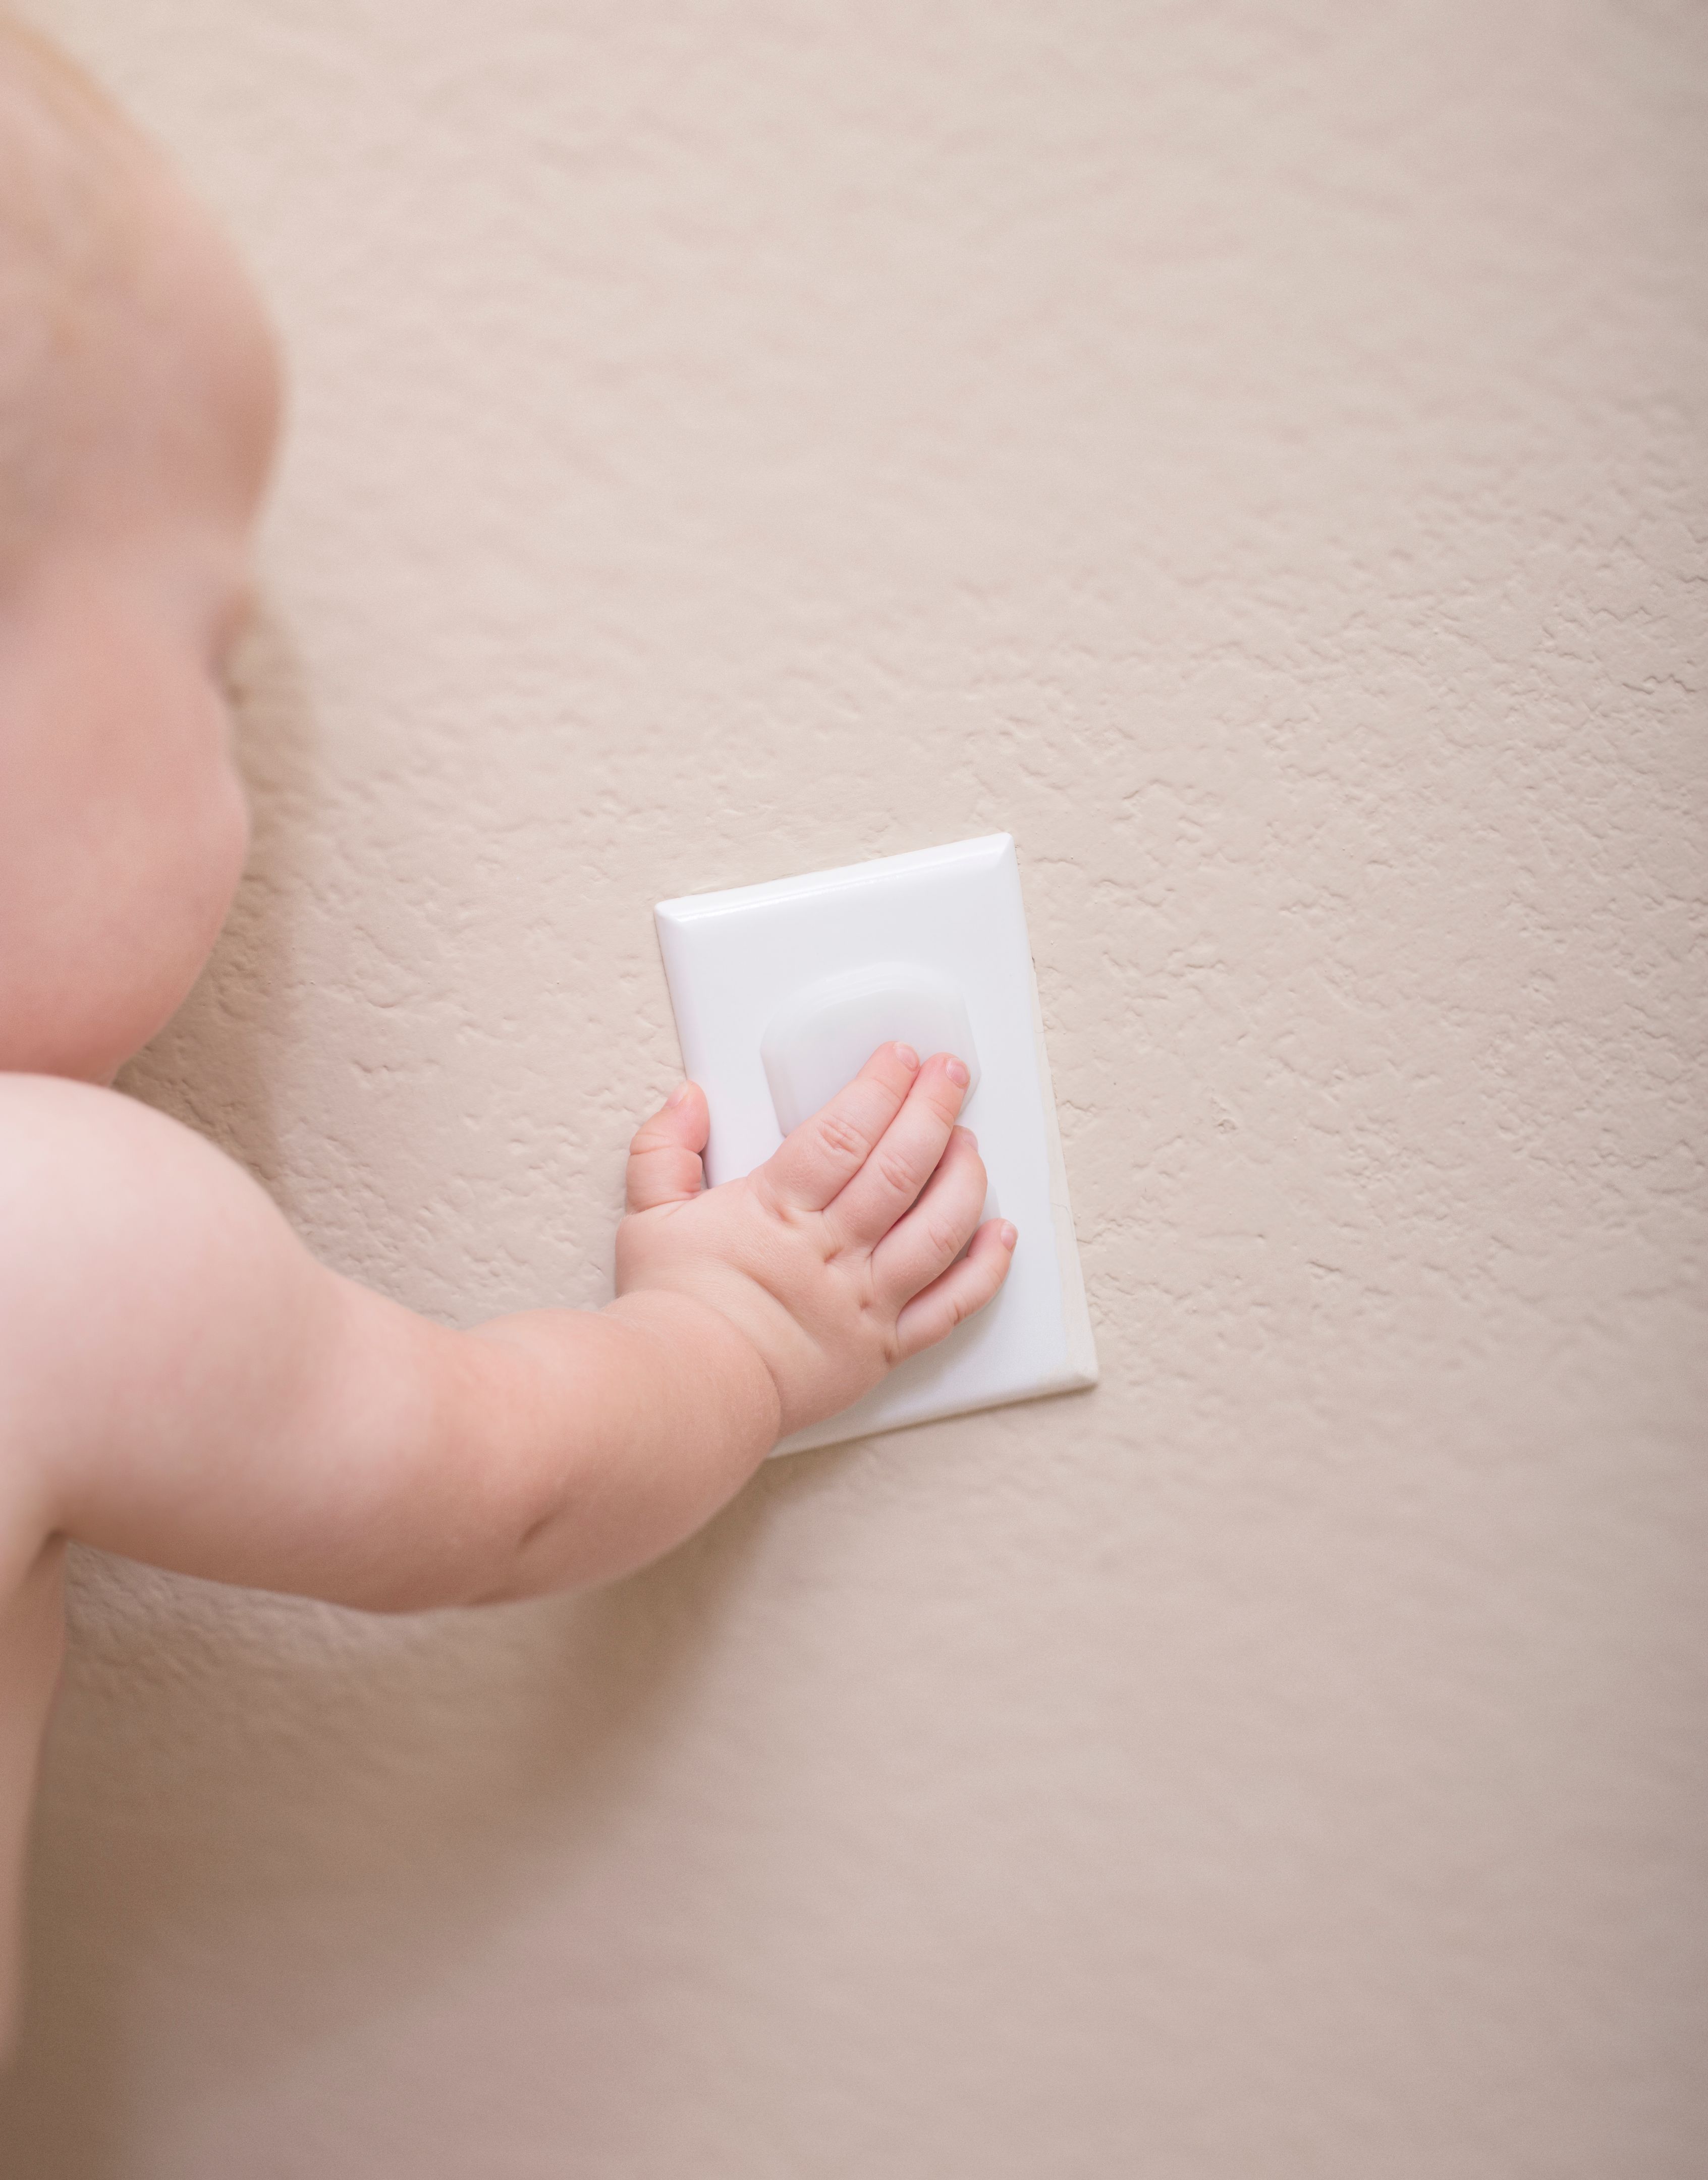
Painting around fixtures and outlets can be tricky, so it’s best to remove or cover them. Take off switch plates and outlet covers, and store them in a safe place. For lighting fixtures, either remove them temporarily or wrap them in plastic to avoid paint splatter.
Use Painter's Tape
Painters tape is your best friend when it comes to protecting edges and surfaces you don’t want painted. Apply it along baseboards, window frames, and door trims. Ensure the tape is pressed firmly to prevent any paint bleed.
Step 4: Communicate with Your Painting Team
Before the painting crew arrives, have a clear discussion about your expectations and any specific instructions you may have. Whether it's a specific color scheme or areas that require extra attention, clear communication ensures everyone is on the same page.
Final Walkthrough
Conduct a final walkthrough with the team once they arrive. Highlight any areas of concern and confirm the job details. This is also an excellent time to ask any last-minute questions or provide feedback on the initial preparations.